3 Mistakes People Make When Setting Up a Wifi Camera

Setting up a camera for your house might sound simple, but small mistakes during seyup can limit the usefulness of the device. That’s why a Wifi Camera requires careful setup.
Placement, signal strength, and lighting all play a crucial role in whether your camera provides useful footage or leaves you with blind spots. To make your system reliable and effective, it’s important to avoid three common setup mistakes we’ll cover below.
Why Setup Matters for Wifi Camera Models
A Wifi camera isn’t just another gadget—it’s a safeguard for your property and peace of mind. The truth is simple: the way you set up determines whether your camera protects you or leaves you with blind spots.
A poor installation can mean missing important details, overlooking key events, or receiving alerts too late to matter. That could mean not noticing a delivery, a visitor, or even suspicious activity. Low-quality video turns security into guesswork instead of providing clear answers. To be effective, every clip should be sharp, alerts should be timely and relevant, and your camera should be a reliable tool for capturing crucial evidence when it matters most.
Proper Installation Affects Security and Performance
Location and connectivity are far from minor details. A poorly placed camera can leave blind spots where no motion is detected, while one angled too high or too low captures only part of the story. Security, too, depends heavily on setup.
Open networks and weak passwords leave the feed vulnerable, while a weak signal might not disconnect entirely but can still degrade video quality and frame rates. Even an unstable power source can shut down your device at the worst possible moment. With thoughtful placement, a secure network, and reliable power, your camera can deliver both safety and strong performance.
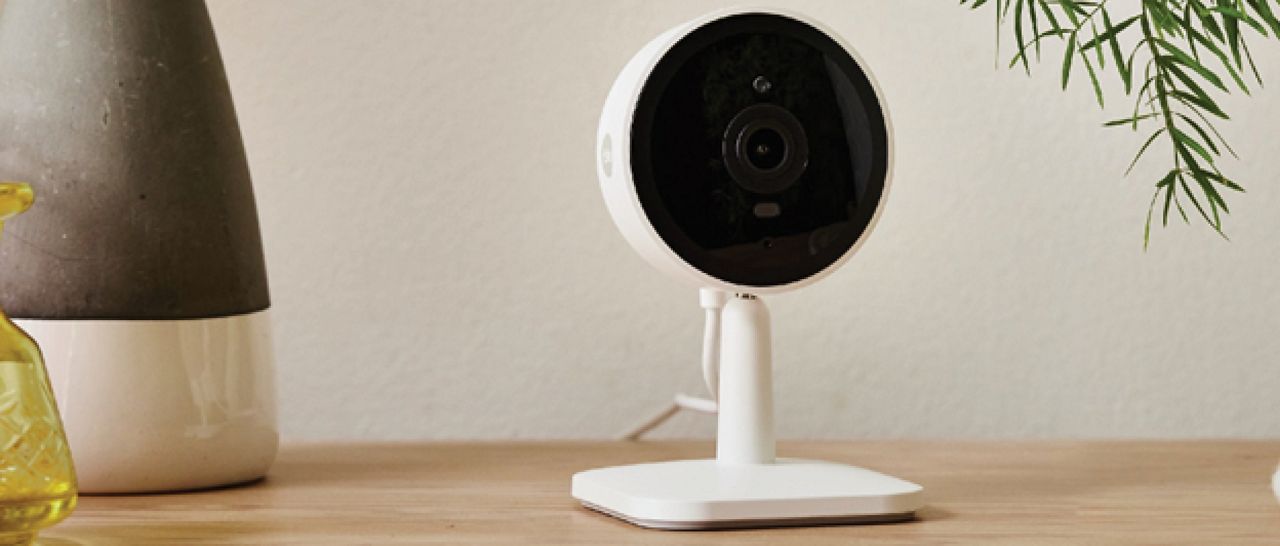
1.Poor Camera Placement
Poor placement is one of the biggest faults. Most people install their Wifi Camera without testing angles or coverage. Just a few inches high or low alters the picture more than you’d think.
Too High, Too Low, or the Wrong Angle
Mounting height makes all the difference. A camera placed too high sacrifices detail—faces, license plates, and other important identifiers can blur. Too low, and the frame fills with legs, pets, or the floor. The ideal angle is often missed simply because setup is rushed.
A simple rule helps: indoors, position the camera at roughly eye level for a natural, comprehensive view of the room. Outdoors, keep it at eye level but tilt it slightly downward. This angle minimizes blind spots, captures clear footage, and reduces strain on the device.
2. Weak Wi-Fi Connection
A Wi-Fi camera is only as reliable as its network connection. If it’s mounted too far from the router, the signal may be too weak to support live video or timely alerts. Many people make the mistake of installing the camera first—only to discover later that the Wi-Fi in that spot isn’t strong enough.
Not Testing Signal Strength Before Installation
This is one of the most common oversights. A quick signal test can prevent a lot of frustration. Simply walk around the intended area with your phone to check Wi-Fi strength, or use a signal-testing app before mounting the camera.
If the connection is too weak, you’ll end up with video that won’t load, delayed alerts, or footage that never uploads in real time—making the camera unreliable. Fixing this afterward often means moving the router or adding a range extender. Testing before installation saves both time and effort, ensuring your camera performs as it should.
3. Ignoring Lighting Conditions
Lighting is one of the most overlooked factors in camera setup. Even the best Wi-Fi camera can’t deliver clear footage in poor light. Bright sunlight can wash out a scene, while dim, yellow lighting at night can leave images blurry and unhelpful.
Glare, Shadows, and Night Vision
Glare from windows can bleach the frame, while harsh lighting creates deep shadows that hide movement. At night, low or uneven lighting often produces grainy or fuzzy images, reducing the value of the feed.
Most cameras rely on infrared (IR) for night vision, reflecting invisible light back into the sensor. However, glass, mirrors, and glossy walls can bounce that light back, distorting the image. The fix is straightforward: avoid aiming the camera at reflective surfaces and provide a small, steady light source nearby. This combination preserves clarity and keeps night vision effective.