How to Install: Yale Smart Keypad

Here we cover the steps needed to install your Yale Smart Keypad and set it up in the Yale Home App. You may be prompted to update the firmware on your lock before setup begins. Additional information about Firmware updates is available here.

Good to know before your installation

    • Yale Smart Keypad
    • 2 AAA Batteries
    • Adhesive Strip
    • 2 Fixing screws
    • 2 Wall plugs


    • Drill with Drill Bit Set
    • Hammer
    • Ballpoint Pen/Pencil
    • Phillips Screwdriver
    • Spirit Level


  • SURFACE
    INSTALLATION TYPE
    DRILL BIT NEEDED
    Brick
    Cement Siding
    Concrete*
    Screw + AnchorMasonry Bit - 4mm
    DrywallScrew + Anchor
    Standard Bit - 4mm
    Render/
    Wood
    (Other Siding)
    Screw OnlyStandard Bit - 4mm

    *Concrete can be challenging for drilling. If you are not experienced with drilling into your particular type of concrete, you may want to consider a professional installation.

    **Depends on the subsurface. Test drill a very small pilot hole to determine the surface to which you are ultimately fastening. Hard subsurfaces may require a masonry drill bit. If your test hole seems unstable, you may need to use the screw + wall plug method.

  • This article provides steps to add a new device to a home in the Yale Home App.

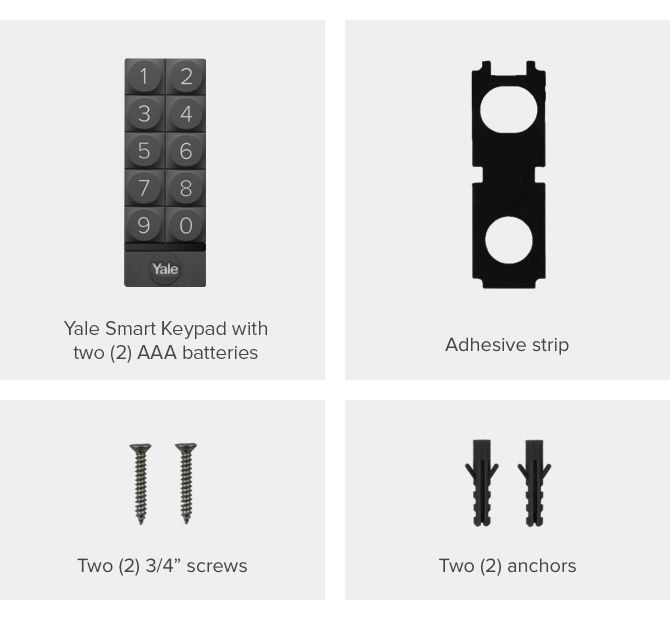
    Once physical installation is complete, you may wish to set up your device so that it is accessible using the Yale Home App.

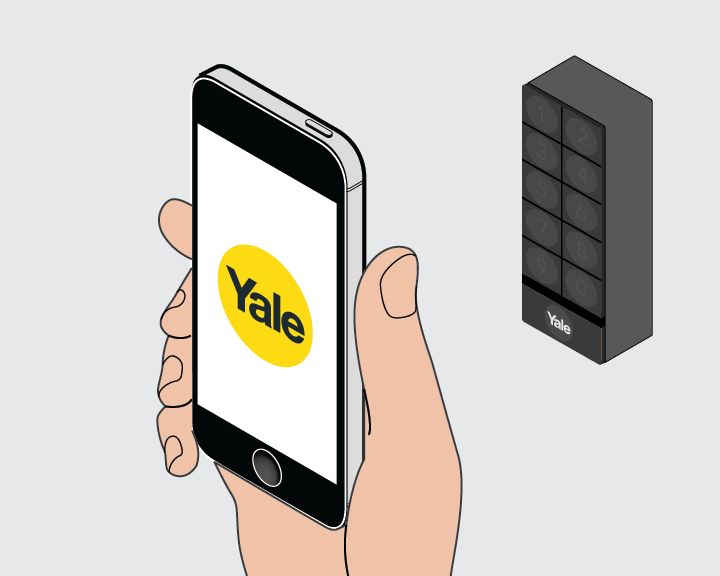
    Before you get started, download the Yale Home App from either the Apple Store or Google Play depending on whether you use an iOS or Android phone:

    Yale Home devices come with a QR code that can be used to set up the device in the Yale Home App. If you no longer have a QR code associated with the device, the serial number can be used during setup.

    1. Open the Yale Home App
    2. Select the menu in the top-left corner
    3. Select Set up a Device to access the QR code scanner
    4. Scan the code. If you are unable to scan it, select Can’t Scan the Code to set up with the Serial Number
    5. Follow in-app instructions to complete setup steps.
Yale Smart Keypad installation step 1.Yale Smart Keypad installation step 1.

Step-by-step installation guide

Step 1. Remove the keypad’s back panel.

Depress the tab on the back of the keypad to remove the back panel.

Yale Smart Keypad installation step 1.Yale Smart Keypad installation step 1.

Step 2. Mark holes in wall for drilling.

Use your spirit level to position the back panel on the wall. Take your ballpoint pen or one of the included screws and poke it firmly through the center of each of the two rubber feet. Then mark the holes. Do not drill through the rubber feet.

Yale Smart Keypad installation step 2.Yale Smart Keypad installation step 2.

Step 3. Drill the holes.

Use the drill bit size and type indicated in the drill bit chart. Drill holes in the two spots you marked with your pen.

Yale Smart Keypad installation step 3.Yale Smart Keypad installation step 3.

Step 4. Add adhesive to the back of the keypad.

Peel off one side of the adhesive covering. Carefully place the adhesive on the rear side of the back panel.

Yale Smart Keypad installation step 4.Yale Smart Keypad installation step 4.

Step 5. Attach back panel to the wall.

Firmly affix the back panel to the wall using the adhesive. Then take the two screws and screw them into the wall through the holes you created in the back panel.


Yale Smart Keypad installation step 5.Yale Smart Keypad installation step 5.

Step 6. Attach Yale Keypad to the back panel.

Remove the battery tab from the inside of the keypad. Hook the top of the keypad onto the top of the back panel, rocking it down to the bottom until you hear a click.

Yale Smart Keypad installation step 6.Yale Smart Keypad installation step 6.

Step 7. Set up Keypad with the Yale Home App.

In order to complete these actions, you need to be within Bluetooth range of your keypad, and have your phone with the Yale Home App downloaded. PLEASE NOTE: You need to be an Owner of the product (i.e. Yale Home enabled Smart devices like Smart Locks)) associated with the Keypad to put the device in setup mode.

Follow these steps to put your Keypad into setup mode:

1.     Open the Yale Home App and go to House Settings

2.     Select the Yale Smart Keypad to enter Keypad Settings

3.     Select Disconnect Keypad and then the blue DISCONNECT button

The actions above prompt the Yale Home App to send a reset code to your phone. Once you receive the reset code, push the logo button on the Smart Keypad. The app will ask whether the Keypad is slowly pulsating red. Select Yes or No depending on what’s happening. If the Yale Smart Keypad is pulsating red proceed with in-app setup instructions on your phone. If not, repeat the steps above to place the keypad in setup mode again.

If you tried the steps above and the device does not begin to slowly pulsate red, try removing and reinserting a battery, and then re-entering the reset code. If the device still doesn't begin pulsating red, please reach out to customer support here.

If you are unable to find the keypad in your Yale Home App, you may need to set it up again. Go to the Keypad Installation Guide and follow the steps under the "Set up in the App" section.

Yale Smart Keypad installation step 7.Yale Smart Keypad installation step 7.

Need more help?