Getting Started with Yale Smart Alarm
Here you can find help to set up your Yale Smart Alarm
FAQ
In Europe the warranty is valid for 2 years from the date of purchase, warranty claims are to be made via your place of purchase.
The Starter kit comprises of:
- 1 x Yale Alarm Hub
- 1 x Yale Key Fob
- 1 x Yale Keypad
- 1 x Door Contact
- 1 x PIR Sensor
The Starter kit + comprises of:
- 1 x Yale Alarm Hub
- 1 x Yale Keypad
- 2 x Door Contact
- 2 x PIR Sensor
The Siren kit comprises of:
- 1 x Yale Alarm Hub
- 1 x Yale Key Fob
- 1 x Yale Keypad
- 1 x Door Contact
- 1 x PIR Sensor
- 1 x Outdoor Siren
Yale Home is the application to use on your Smartphone. The app is available on the Apple App Store or Google Play.
Download the Yale App from the App Store or Google Play depending on your device.


Once you have downloaded the Yale Home app you will need to click on create an account or sign in if you already have an account.
No, the Yale Smart Alarm is not compatible with any other Yale alarm systems or accessories.
You can add up to 100 accessories to one Yale Smart Alarm Hub.
Yes, we recommend using our Yale Outdoor Door/Window Contact or our Yale Outdoor Motion Sensor for these types of environments.
Please click here to view how to setup and install your Yale Smart Alarm Hub.
Please note - When you first set up your Hub, you need to activate Bluetooth on your phone to pair the Hub to your local network.
In this video you will find guidance on:
- Setting up your Yale Smart Alarm Hub
- Registering you device
- Connecting to the internet
- Mounting your Yale Smart Alarm Hub
Please click here to view how to setup and install your Yale Smart Alarm accessories.
In this video you will find guidance on:
- Yale Keypad
- Yale Indoor Motion Sensor
- Yale Indoor Window/Door Contact
The Yale Siren will sound for 5 minutes, 3 times per arming cycle.
Yes, you can add multiple sirens to your Yale Smart Alarm system.
If you're unable to locate the QR code on your Yale Outdoor Siren, follow these steps:
- Locate the screw on the right-hand side of the Siren (next to the Yale logo).
- Remove the screw carefully.
- Open the front cover of the Siren — it hinges on the left side.
- Inside the Siren, you’ll find the QR code.
Setting Up in the Yale Home App
- Open the Yale Home app.
- Tap the top right + icon.
- Scan the QR code found inside the Siren.
- Follow the on-screen instructions to complete the onboarding process.
During setup, you’ll also be able to view detailed installation instructions to help you mount and configure the Siren on your property.
Once you have added your Yale Outdoor Siren to your Yale Smart Alarm system using the Yale Home app, you can easily adjust its settings. Here’s how:
- Open the Yale Home app on your smartphone.
- Select "All Devices".
- Select your Outdoor Siren.
- From here, you can:
- Adjust the siren volume.
- Enable or disable the Comfort LED.
You can change these settings at any time.
You can find step-by-step installation instructions in the Yale Home app:
- During setup: The app will guide you through mounting the siren to your wall as part of the installation process.
- After setup:
- Open the Yale Home app.
- Go to All Devices.
- Select your Yale Outdoor Siren.
- Scroll to the bottom and tap Installation Guide.
This guide includes everything you need to securely mount your siren to your property.
Yes it can. This is not something which Yale produce, therefore a third party power supply would be required. When sourcing a power supply, it will need to be the following specification:
12V / 2A DC
If the power supply has a power connector, this will need to be cut off in order to connect it to the sirens power terminals. The striped/dashed wire will be the positive wire. The unmarked wire will be negative. The terminals inside of the siren are clearly labelled positive and negative so that you can match them up.
When adding your Yale Button to your Yale Smart Alarm system you will be asked to choose which mode you want the button to be configured for. You can configure it to operate as a doorbell or a panic button. Don't worry, you can change this anytime within the Yale Home applications from the Device Settings page.
Once you have added your Yale Smoke Sensor to your Yale Smart Alarm system it will work. There is no further configuration required following the installation process.
There are two options to connect to the internet:
1: Via an ethernet cable directly to your router
2: Via Wi-Fi connection to your router. NOTE: the Yale Smart Alarm is compatible with 2.4 Ghz frequency networks.
Following the setup process of the Yale Keypad you will be asked to create an alarm code. This code will be used to arm and disarm your Yale Smart Alarm System.
There is also an option to enable or disable the Yale Keypad backlight within the Yale Home app via the Settings menu.
We recommend to install the two components between 5-20mm apart. The magnet should always be located on the right side of the Yale logo.
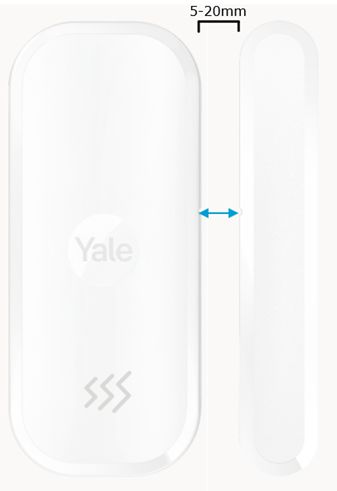
The magnet should always be to the right of the Yale logo as shown below. There are 'notches' in each piece that should align. The magnet can be placed above or below the contact to make it easier to mount depending on the window/door type, as long as it's on the right-hand side.
We recommend placing Yale Indoor Motion Sensors (PIR) in the corner of the room at a height between 1.0 to 2.4 meters to ensure the best coverage (see example diagram below)
We recommend not installing the sensor so it is facing a window or a direct source of heat, such as radiators or air conditioning units.
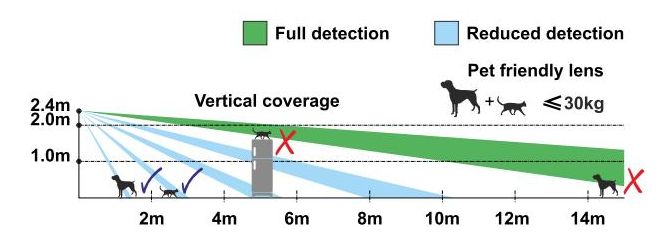
The trigger is dependent on the size of the pet. Our sensors are immune to animals up to 30 kilograms when set to pet mode and positioned at a height of 2.4 meters.
Ensure the motion sensor is set to pet mode in the device settings via the Yale Home app, this will account for the pet in order not to trigger the alarm.
We recommend placing the Yale Outdoor Motion Sensor at a height between 1.0 to 2.4 meters in height for optimum coverage (see example below).
The movement range is approx 12 - 14 meters.
The power supply input is 100 -240v AC and the output is 5 Volts DC, 2.0 Amp, 10 Watts. Our power supply comes with both an EU and UK adaptor.
To switch the battery backup power on, slide the switch on the rear of the unit towards the center of the unit.
You will see a small indented line below the switch to signify the unit switch is set to the on position. If you see a small dot, the battery backup switch is set to off.
The QR code is located on the rear of the unit, you will be required to remove the mounting plate to access this as shown below.
Yale Indoor Motion Sensor
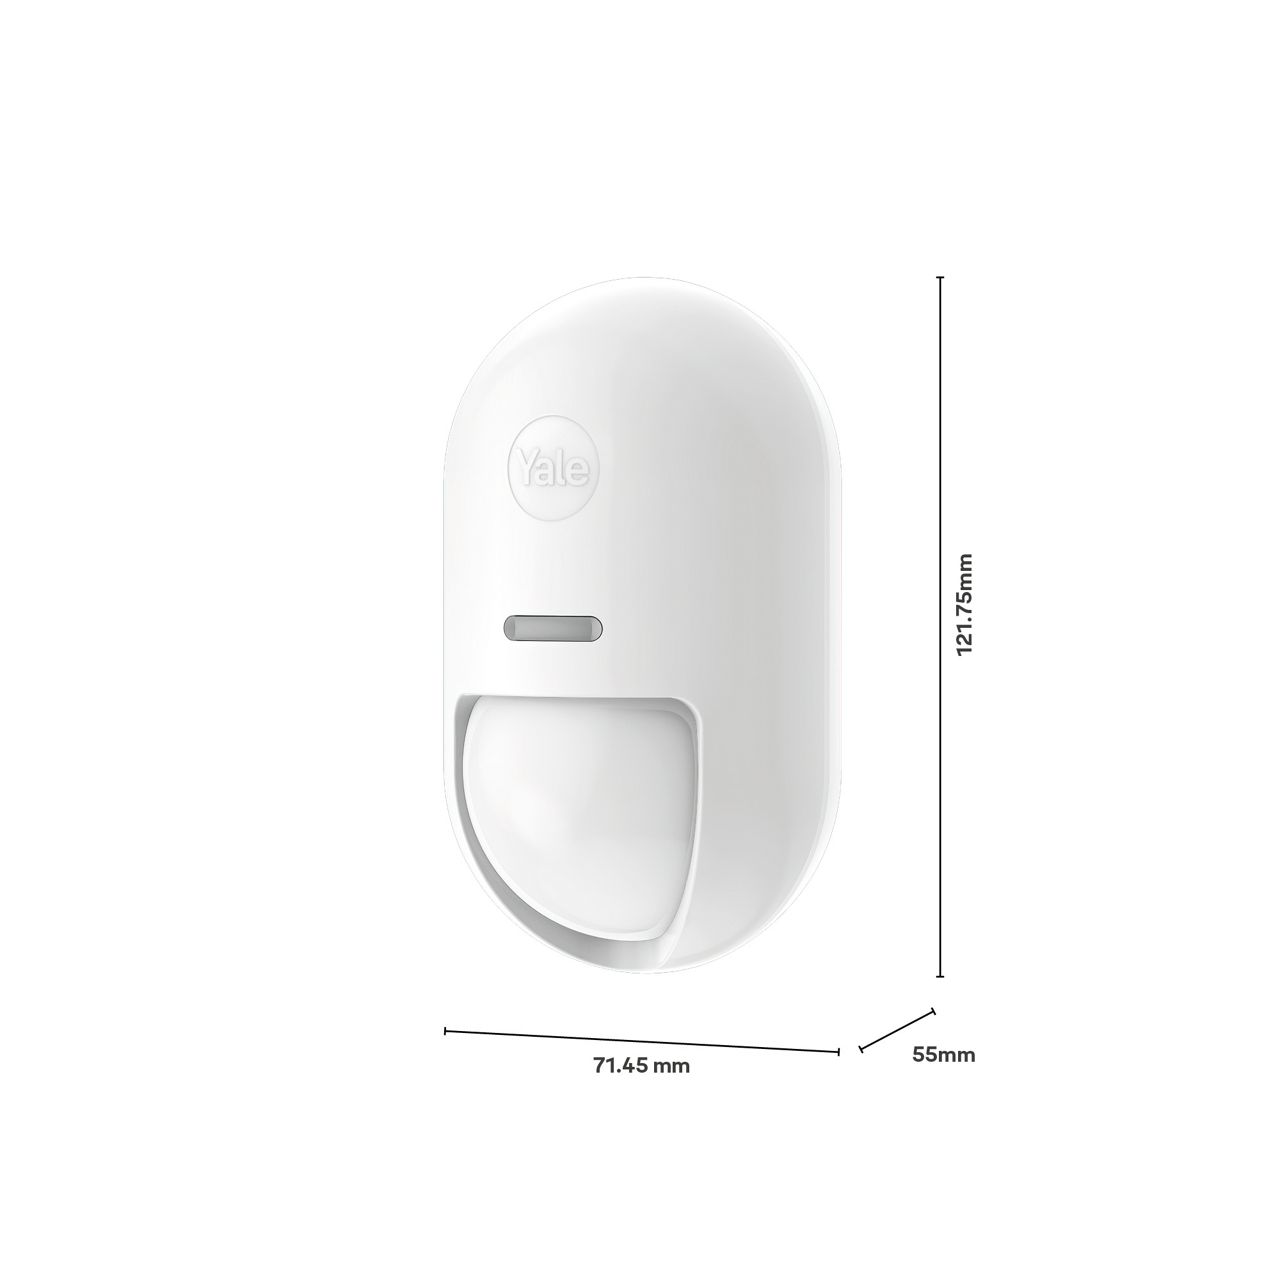
Yale Indoor Window/Door Contact
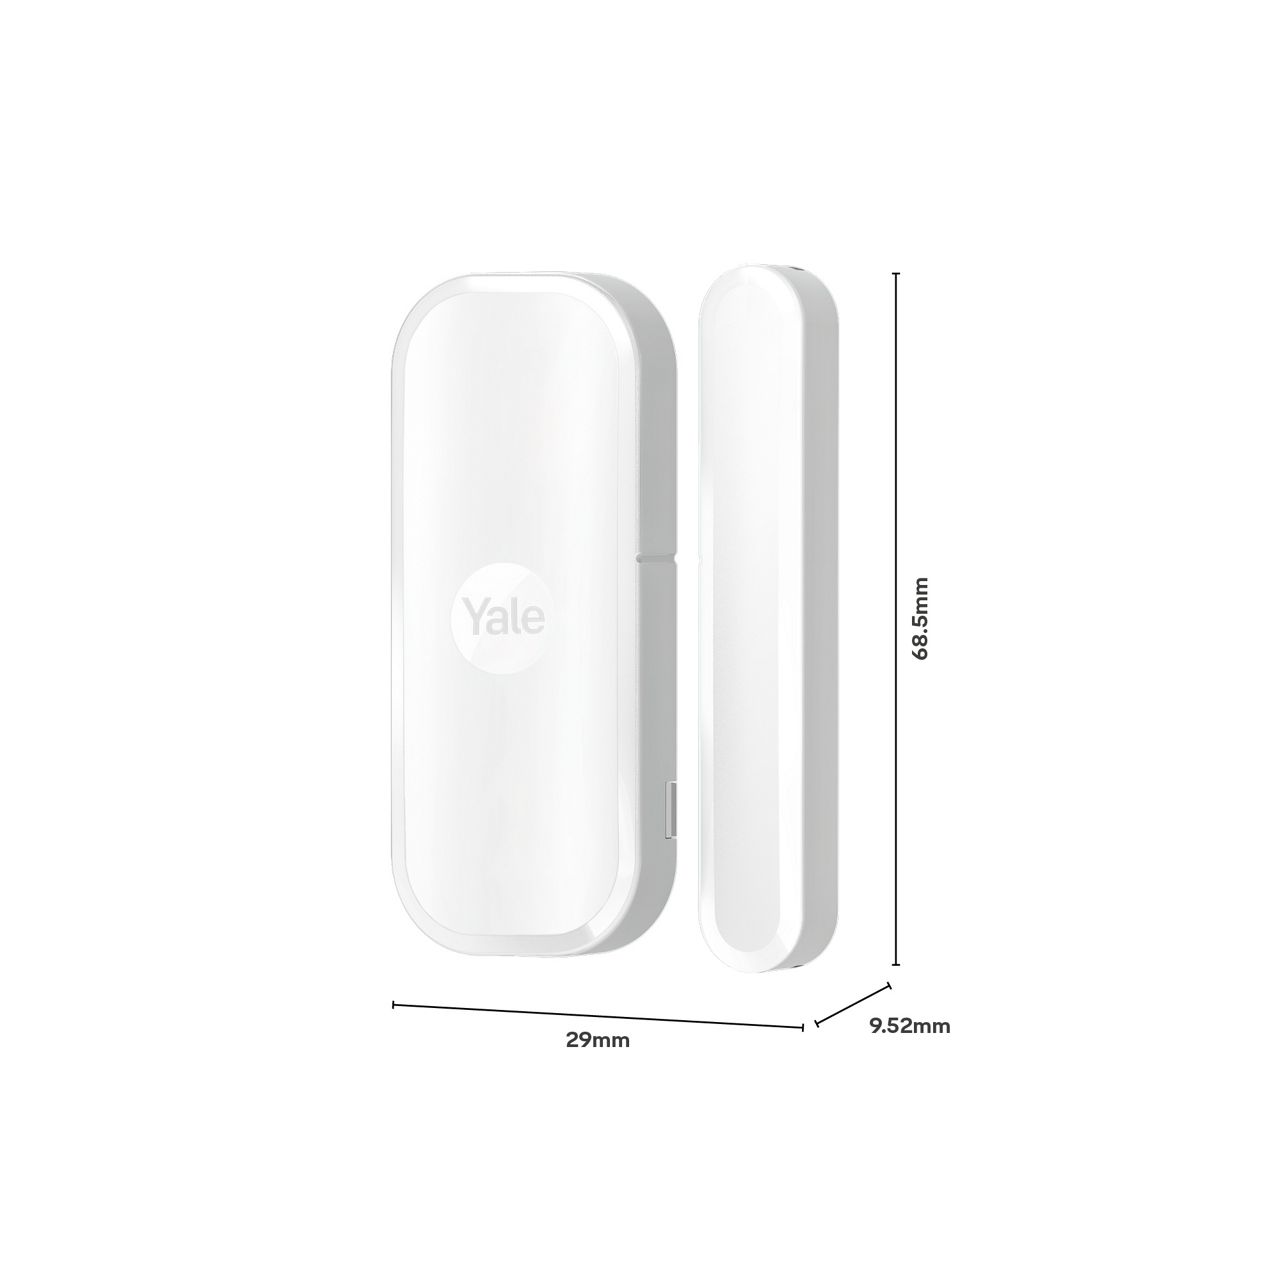
Yale Pre Break-In Sensor
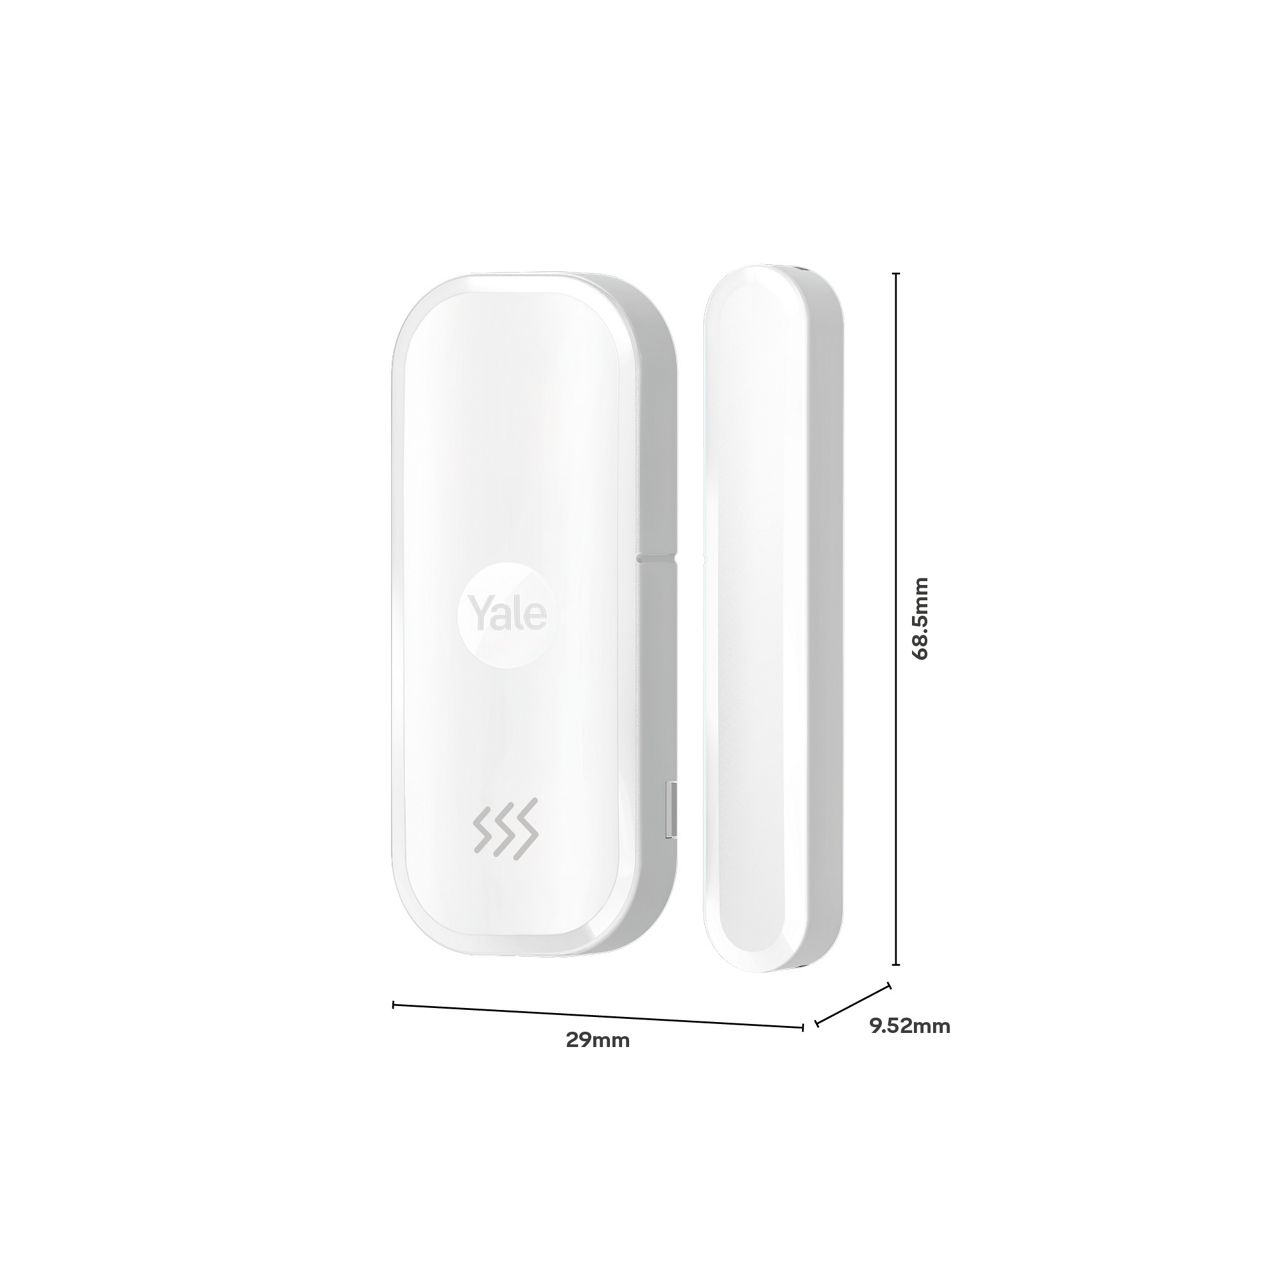
Yale Outdoor Motion Sensor
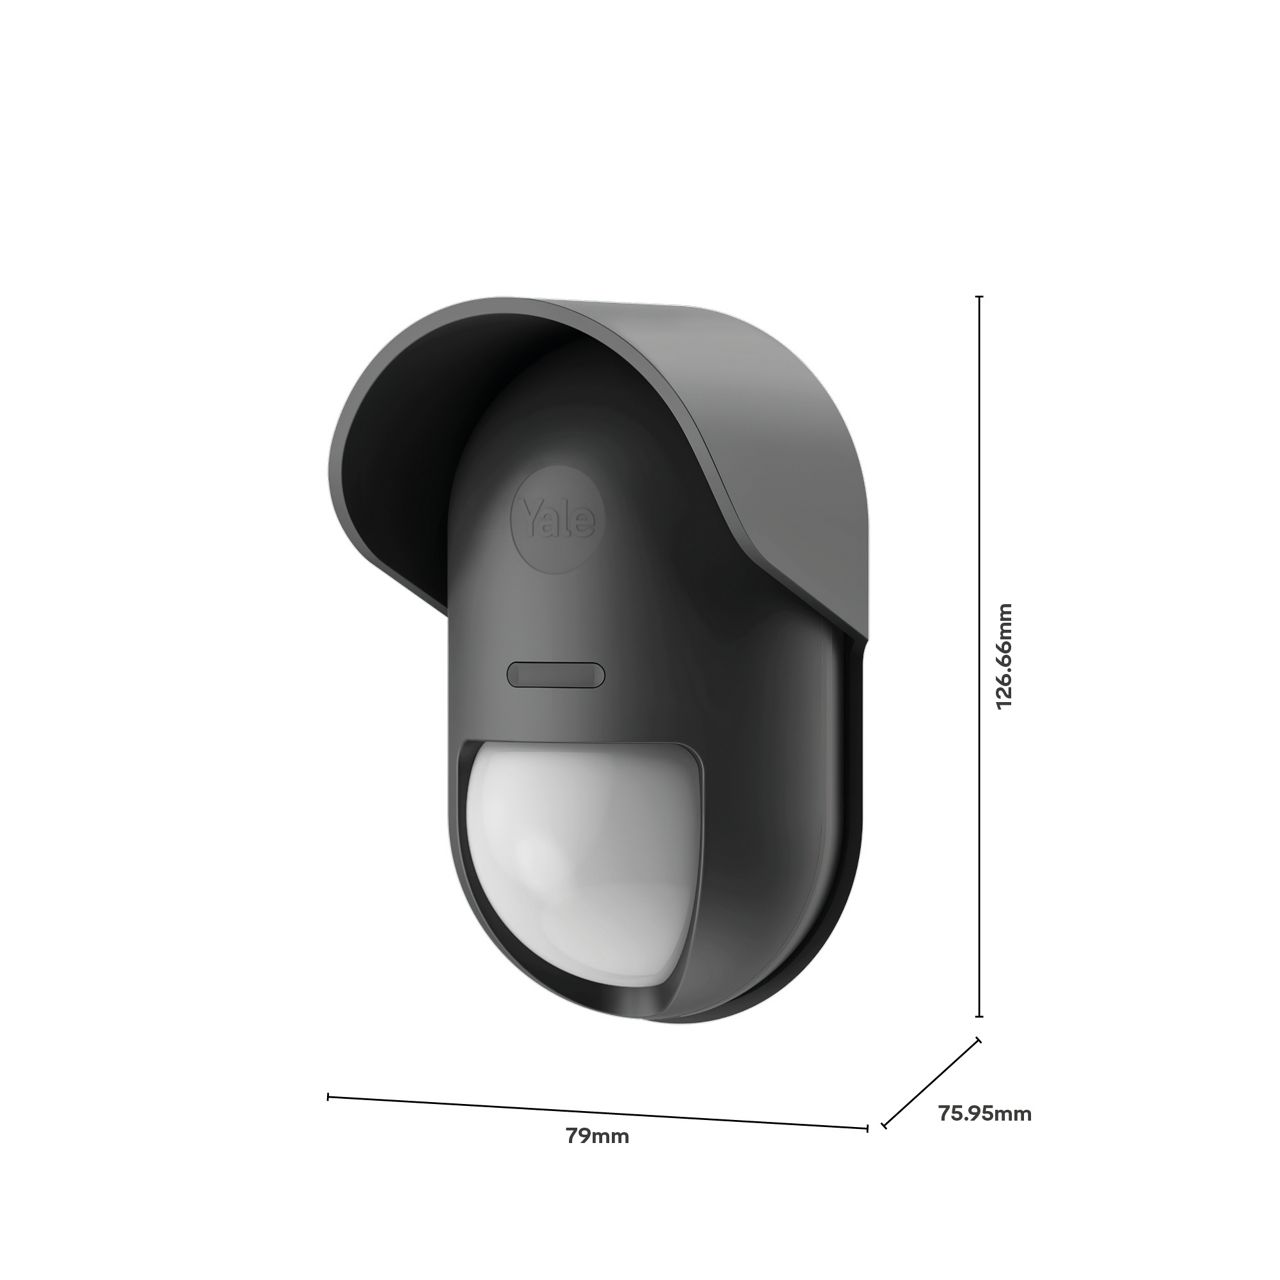
Yale Outdoor Window/Door Contact
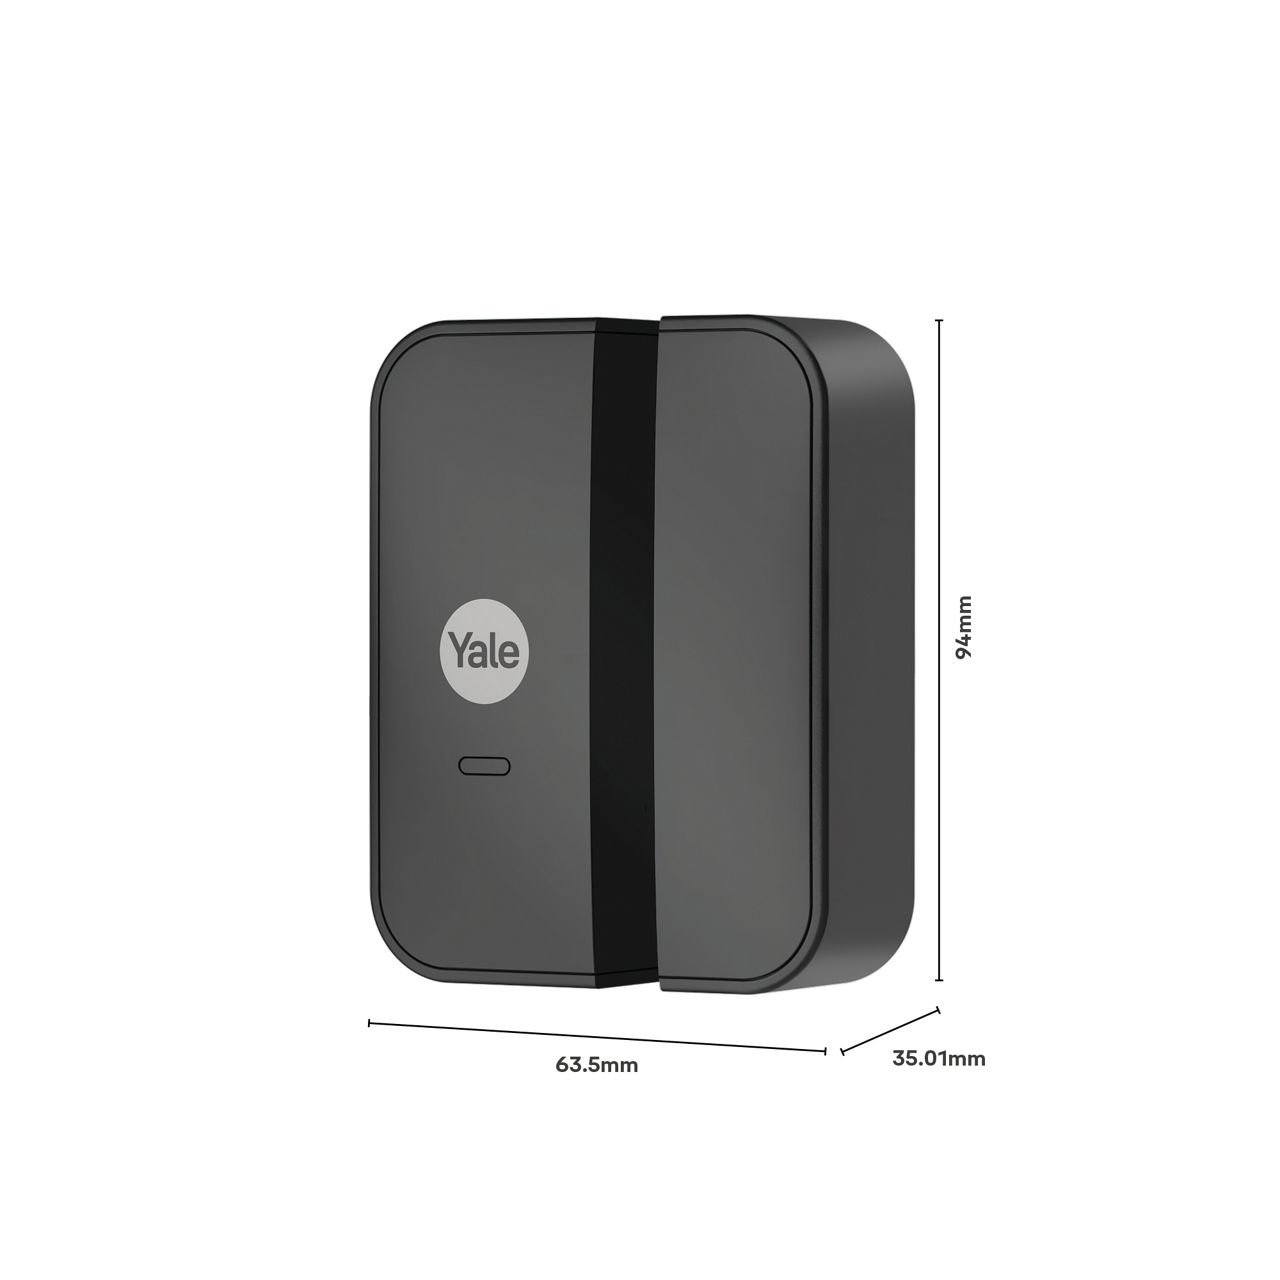
Yale Keypad
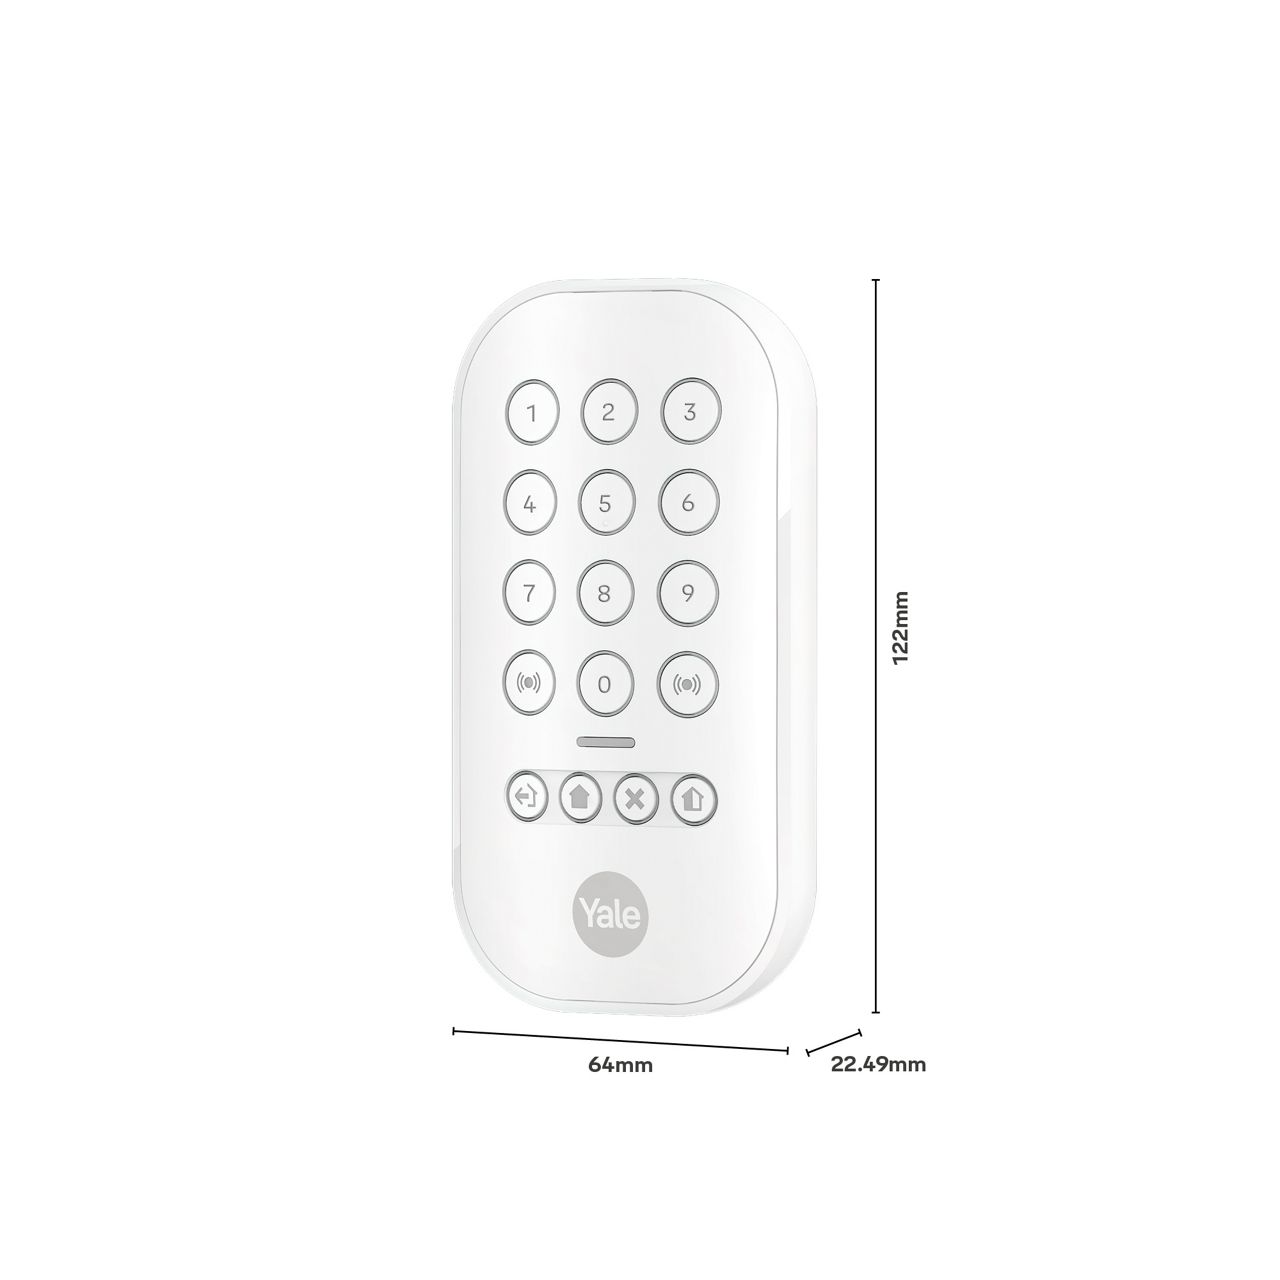
Yale Keyfob
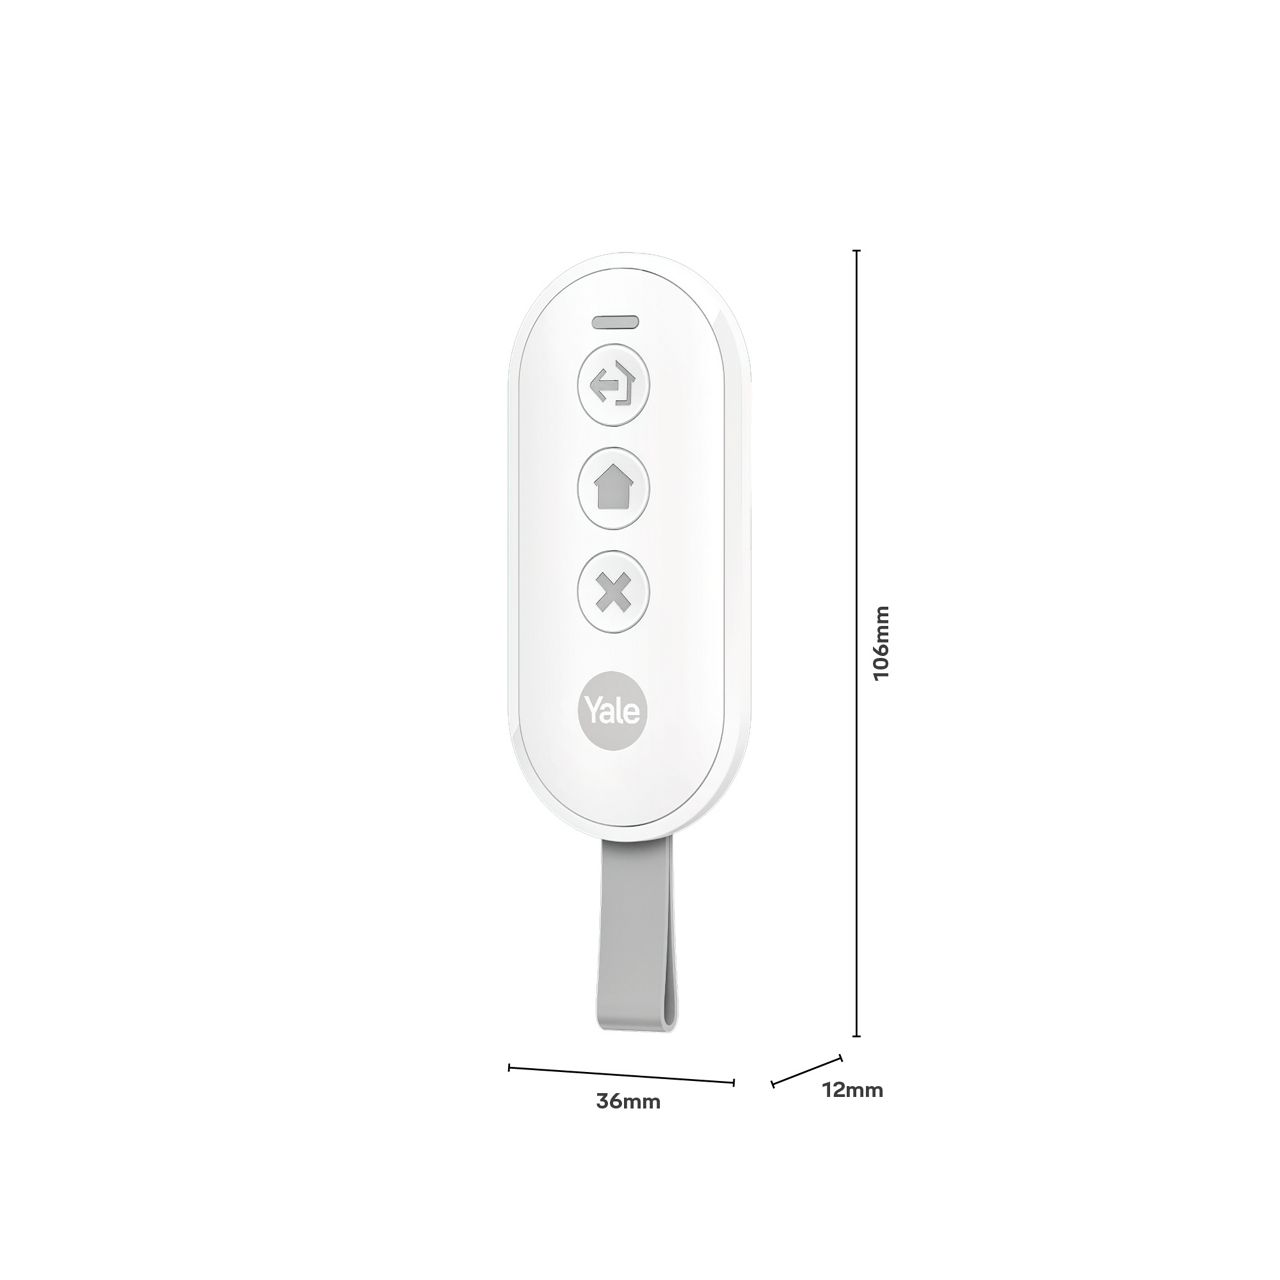
Yale Button
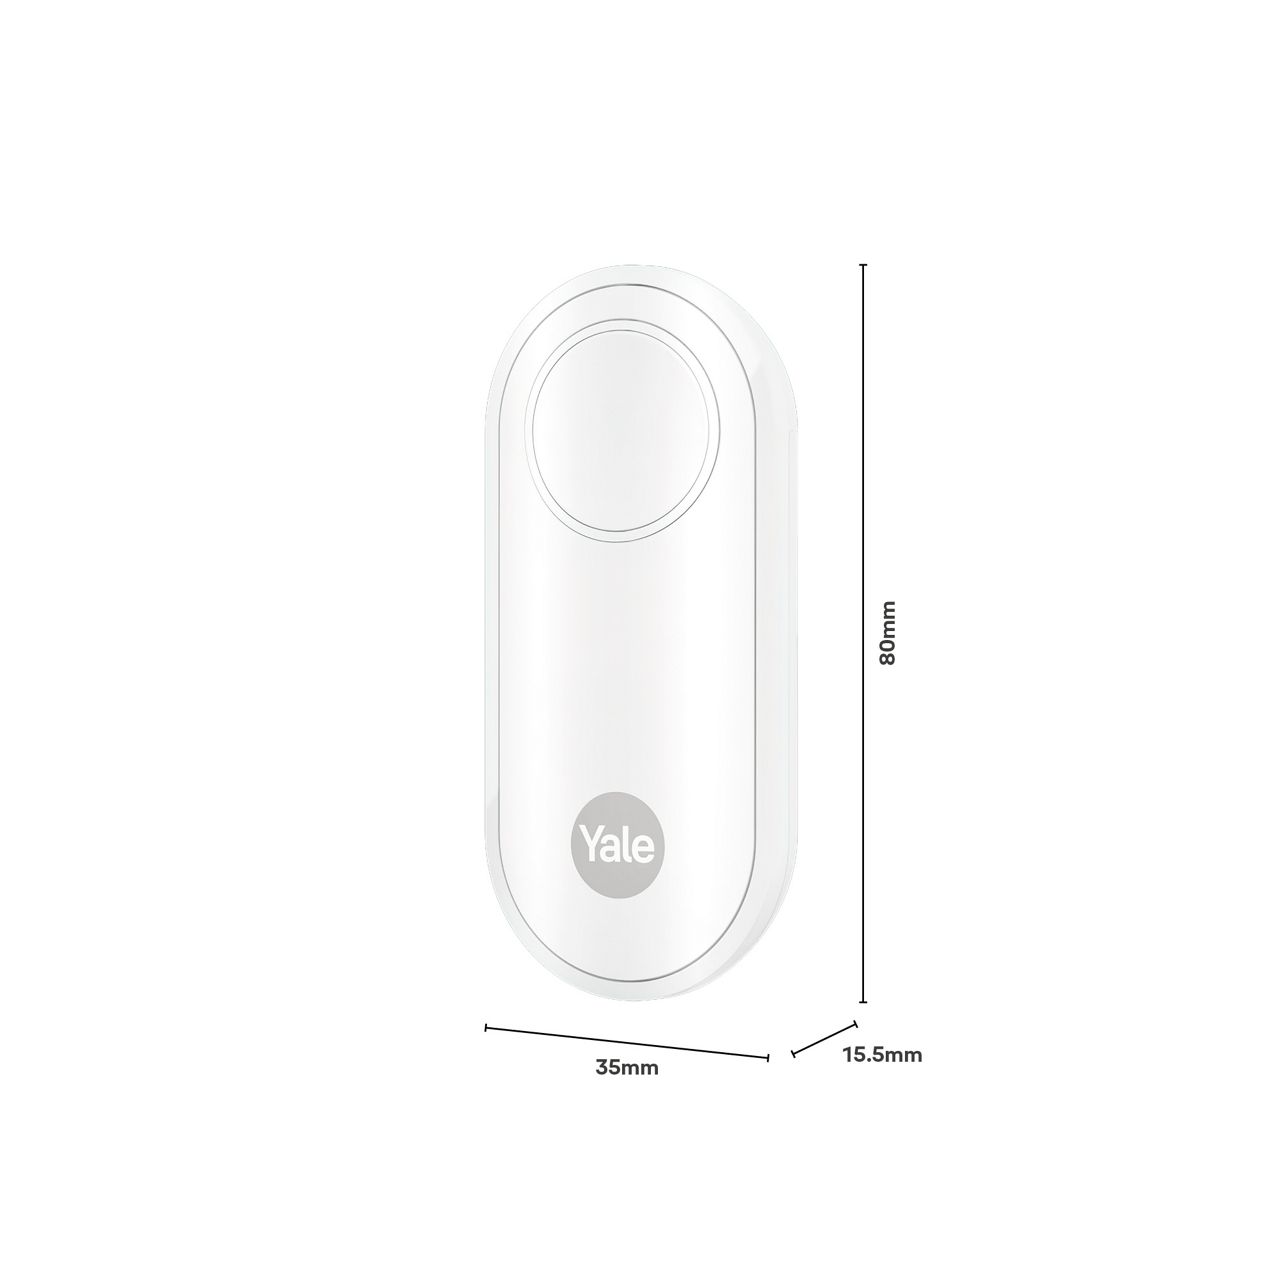
Yale Smoke Sensor
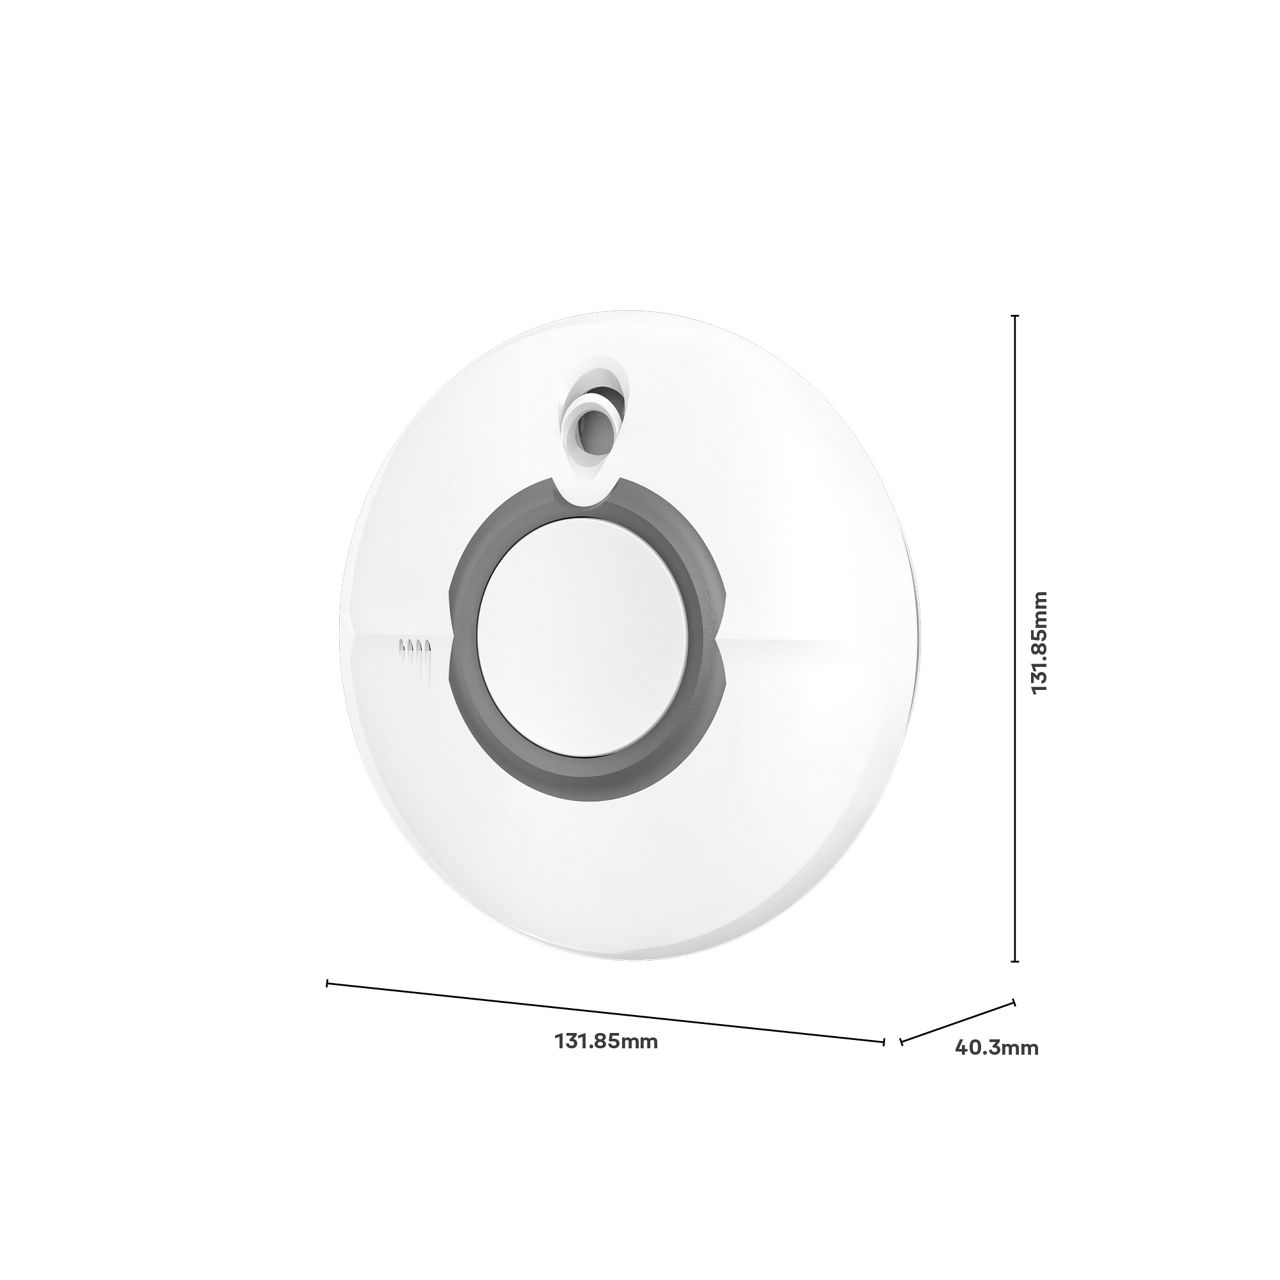
Yale Indoor Siren
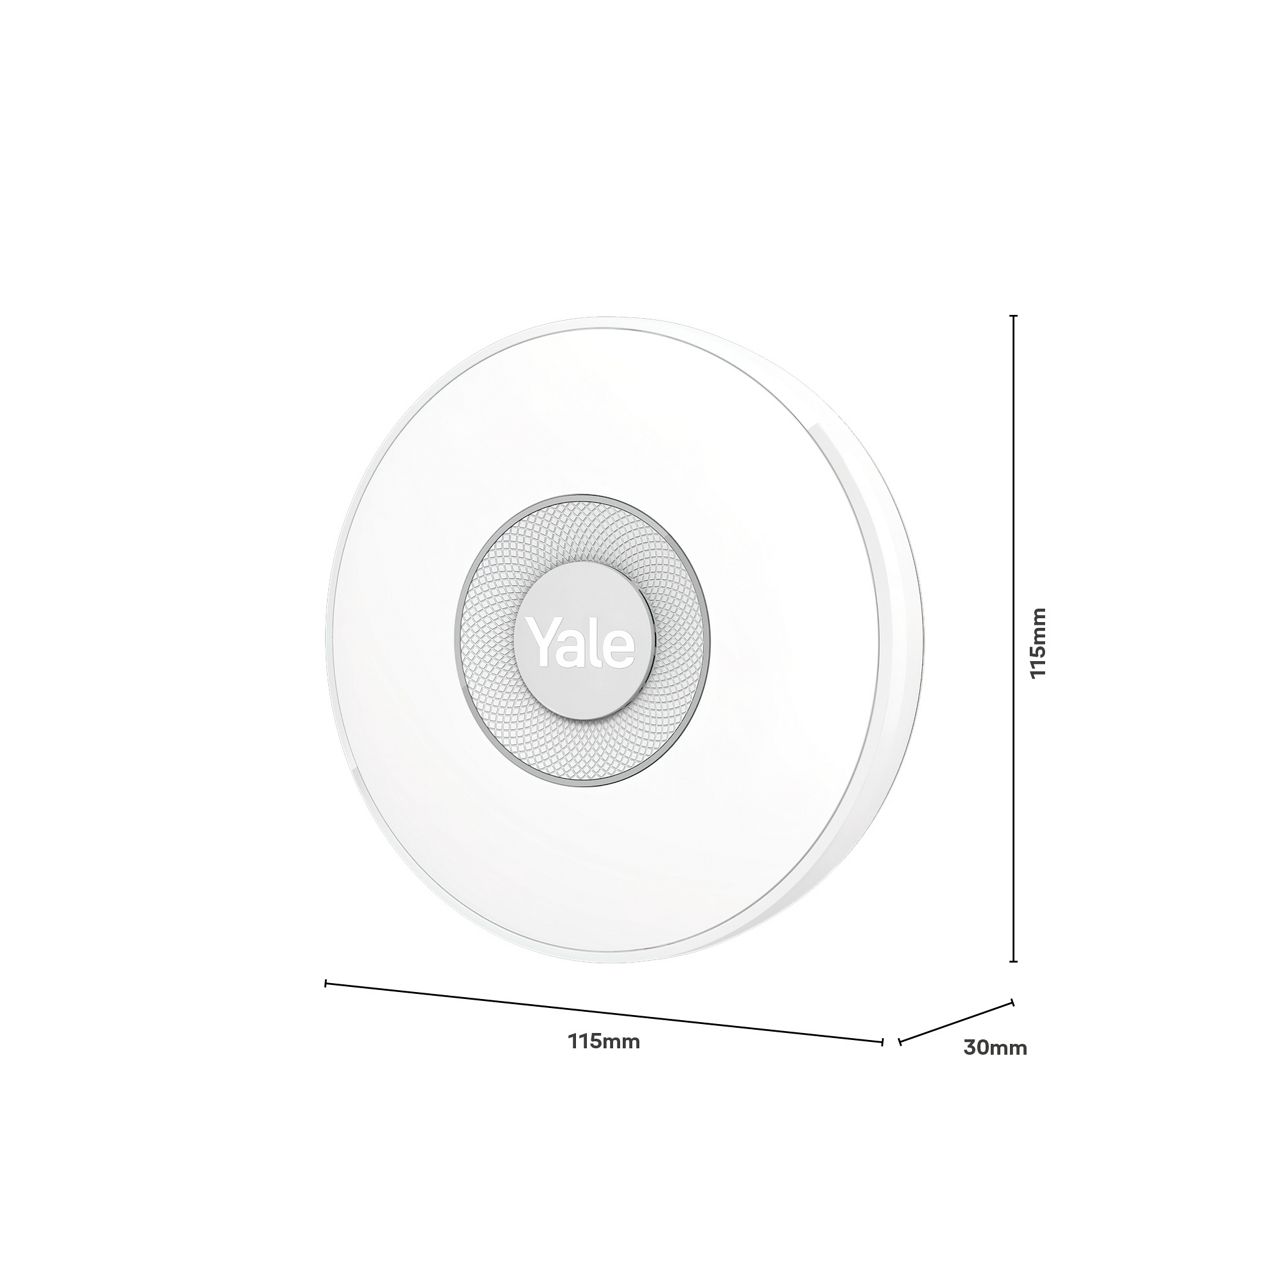
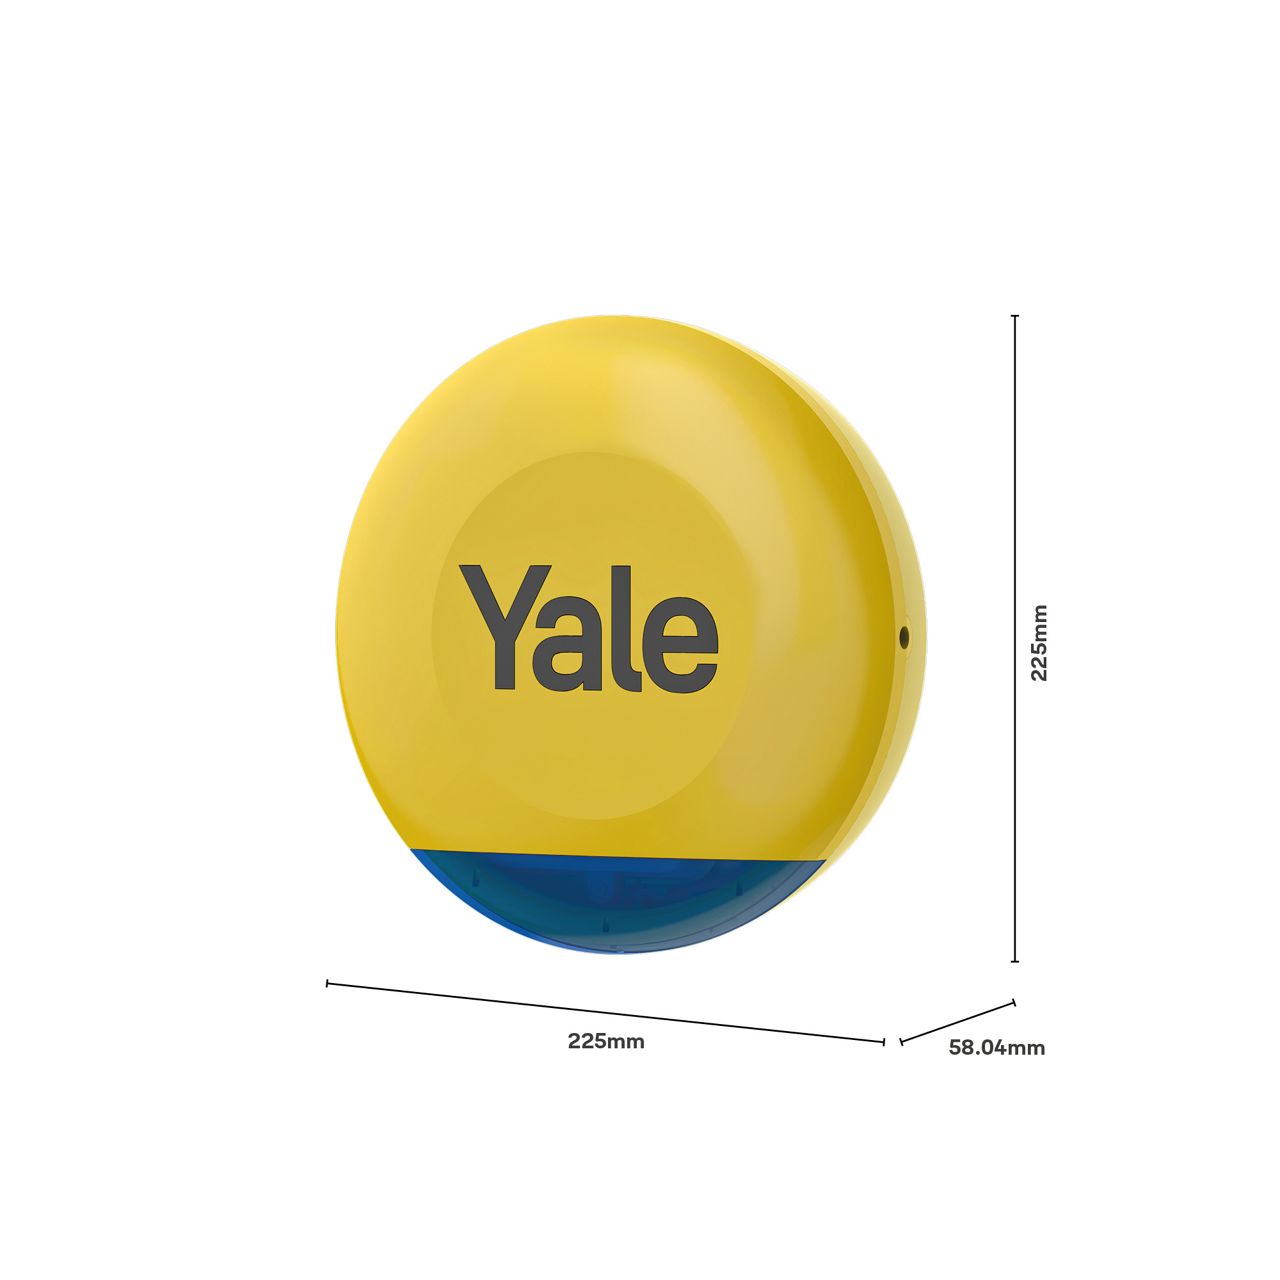
Yale Outdoor Siren - Available in Grey and Yellow. Also available as a blank Decoy Siren (Dummy)
Your Yale Smart Alarm will continue to operate and can be controlled using a Yale Keypad or Yale Keyfob. However, it cannot be controlled via the Yale Home app. We do recommend signing up to one of our subscription services which enables Cellular backup so even if your home internet goes down your Yale Smart Alarm hub will stay online.
Click here to view more information on the Subscription services.
Cellular Backup
If a Wi-Fi or Ethernet connection fails for any reason, the cellular backup is automatically activated and the alarm system continues to operate.
Automated Call Alert
The alarm can alert up to 3 people with an automated phone call, in the event of an alarm activation.
Click here to view more information on the Subscription services.
No, although our Yale Smart Alarm is not insurance-approved, it is still worth contacting your insurer to see if they will offer you a policy discount.
No, Apple HomeKit is not compatible at this moment in time.
The Yale Smart Alarm uses AES‑128 encrypted communication to secure all radio signals between the hub and its accessories. AES‑128 is a widely used industry standard employed in banking and government‑grade systems, offering strong protection against interception and tampering.
The system communicates over a secure 868 MHz RF protocol, ensuring that sensor data, alarm events, and user commands cannot be intercepted or replayed by unauthorized devices. All pairing and device authentication processes are also secured to prevent spoofing.
In addition to encryption, the Yale Smart Alarm includes further security layers such as tamper detection, secure device pairing, and firmware protections to safeguard the system from common smart‑home attack vectors.
The Yale Smart Alarm Outdoor Siren is battery‑powered by default and does not illuminate the Yale logo automatically. If you want the logo to light up—automatically, during the evening hours from 6pm to 8am—you will need to provide constant external power to the siren.
Important Safety Information
Connecting external power involves handling a third‑party mains power adapter and wiring low‑voltage DC connections.
Only proceed if you are confident working with electrical wiring. If unsure, consult a qualified installer or electrician.
Power Supply Requirements
You will need a third‑party mains adapter with the following specification:
- Output: 12V DC
- Current: 2A (2000mA)
- Type: Regulated DC power supply
Yale does not manufacture an official adapter for this purpose.
Connecting the Power Adapter
- If your adapter has a connector plug, cut it off to access the two wires.
- Identify polarity:
- Striped or dashed wire = Positive (+)
- Plain, unmarked wire = Negative (–)
- Open the siren housing to access the power terminals.
- Connect:
- Striped wire → + terminal
- Plain wire → – terminal
- Ensure the terminals are fully tightened and secure.
- Close and mount the siren.
- Plug the adapter into a mains outlet and verify that the logo illuminates.
Once the Yale Siren has been connected to mains power, there is currently not a way to switch off the illuminated Yale logo. By default this will illuminate from 6pm to 8am.